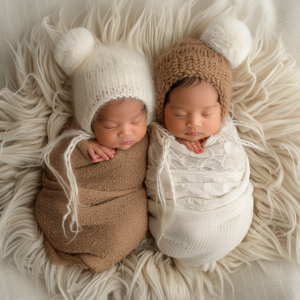
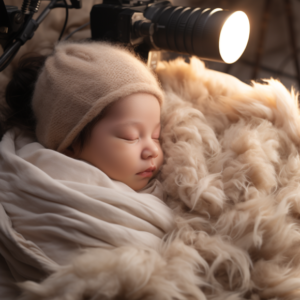
The image of a peacefully swaddled newborn is a timeless classic in newborn photography. A swaddle not only creates a sense of security and comfort for the baby, but it also helps achieve those picture-perfect poses photographers crave. But mastering the art of the swaddle goes beyond just wrapping a blanket. Here’s a guide to swaddling techniques for stunning newborn photos:
Understanding the Benefits of Swaddling
Swaddling mimics the feeling of being in the womb, promoting a sense of calm and security in newborns. This can be particularly helpful during photography sessions, as a swaddled baby is more likely to be relaxed and less likely to startle awake during clicks of the camera. Additionally, a swaddle helps contain the baby’s flailing arms and legs, allowing for easier posing and smoother transitions between positions.
Choosing the Right Swaddle
There are various swaddle options available, each with its own advantages:
- Muslin blankets: These lightweight, breathable fabrics are ideal for temperature regulation and create a soft, classic look in photos.
- Stretch wraps: These offer a more secure and snug fit, making them perfect for achieving those tightly wrapped poses.
- Swaddle sacks: These pre-made options are convenient and easy to use, ideal for beginners or quick swaddles during the session.
Mastering the Swaddle Technique:
Here’s a step-by-step guide to a secure and comfortable swaddle:
- Lay a flat swaddle: Spread your chosen swaddle material on a flat surface like a changing table.
- Diagonal fold (optional): For a more secure fit, fold the top corner of the swaddle diagonally downwards, creating a triangular shape.
- Position the baby: Place your baby on their back with their head resting above the unfolded portion of the swaddle.
- Secure the first wing: Take the left wing of the swaddle (or the unfolded corner if using a diagonal fold) and bring it snugly across the baby’s chest. Tuck the fabric under their right armpit.
- Swaddle the bottom: Bring the bottom portion of the swaddle up and tuck it securely under the baby’s back.
- Secure the second wing: Wrap the right wing of the swaddle across the baby’s body and tuck it under the left armpit, ensuring a snug but comfortable fit.
Pro Tips for Picture-Perfect Swaddles:
- Practice makes perfect: Before your session, practice swaddling a doll or stuffed animal to get comfortable with the technique.
- Temperature control: Consider the room temperature and choose a breathable fabric to avoid overheating the baby.
- Leave room for movement: While a snug swaddle is ideal, ensure the baby’s hips can move freely to prevent hip dysplasia.
- Safety first: Never swaddle the baby’s face or restrict their breathing.
Beyond the Basic Swaddle:
Once you’ve mastered the basic swaddle, you can explore different techniques to achieve specific poses:
- The “froggy pose”: Leave the baby’s legs free from the swaddle to create a cute “froggy” position.
- The “arms-up pose”: Bring the baby’s arms up near their chest before swaddling, creating a cozy and curled-up look.
The Art of the Unswaddle:
Knowing when to unswaddle is just as important as knowing how to swaddle. As the session progresses, be prepared to unswaddle the baby for feeding, diaper changes, or if they show signs of discomfort.
By mastering the art of swaddling, you can create a calm and comfortable environment for your newborn photography session, leading to beautiful and serene images that capture those precious first moments.


